I want to design my own sweaters with a simple, yet perfect fitting, yoke and an interesting collar. I really love the fit of my version of Inspired by Ellen-sweater, so I continue my quest on finding my own recipe for the circular yoke construction.
I usually don’t make recipes for sweaters since there are so many sweater patterns available. But since I took notes when designing this sweater I’m sharing them with you. But remember that the sweater is made to fit me, and that means about size 40-42 or M-L.

This is a true recipe and require that you are familiar with knitting sweaters top-down, with circular yoke and raglan. It also requires that you have watched at least episode 4 and 5 of my video podcast On Creativity.
The pictures shown are details of the finished sweater and not the step-by-step pictures I usually show.
I used two strands of Nutiden yarn in colour-ways Spörja, Härden and Skrymsle.
The name
FRIGJORD means emancipated, free, unlimited, permissive. FRI means free, and is the name of my mitts that allows your hands and palms to be free. And GJORD means being made. So this is a recipe that can make you free and unlimited in your creativity. And that can help you to emancipate from any restrictions that have been forced on you 💪
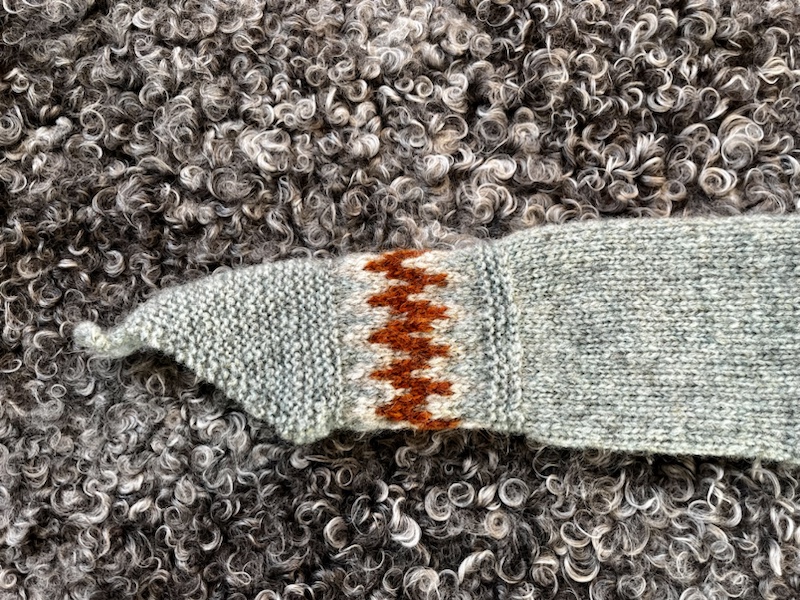
Collar

- Cast on 80 stitches using provisional cast on with 4 mm needles.Knit about 20 rows.
- Purl one row.
- Change to 5 mm and knit colour-work for 18 rows.
- Pick up the provisional cast on. Knit one or a few additional rows to match the length of the colour-work.
- Knit the two sides together using three needles k2tog.
- Now you should have 80 stitches.

Yoke
Knit colour-work according to chart.


Now you should have increased to 200 stitches. Place markers according to:
- Back 60 stitches
- Front 60 stitches
- Sleeves 40 stitches.
Make two steps of raglan increases to get the perfect fit for sleeves and front:
- First increase only for the sleeves every second row. I increased to a total of 46 sleeve stitches.
- After that increase only for the front on every row. I increase to a total of 70 front stitches.
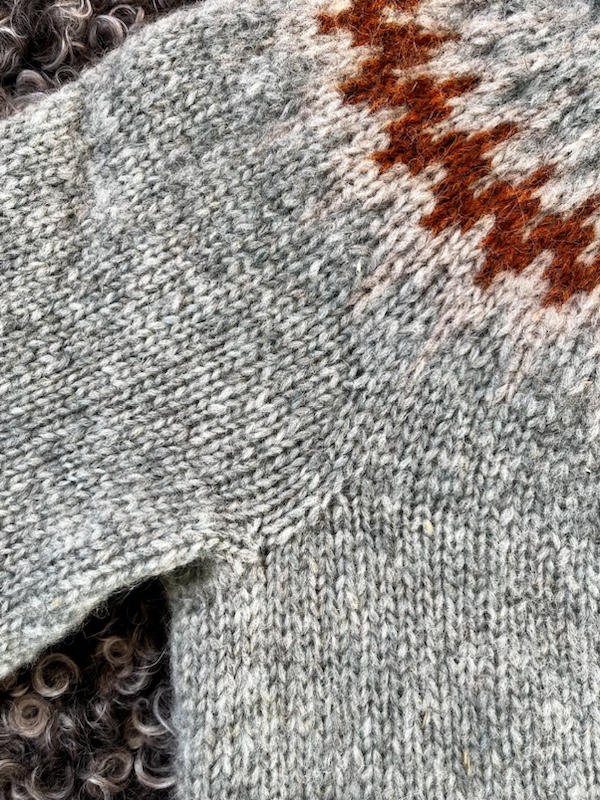
Add extra length to the back by knitting back and forth over only the back stitches and at the same time increase in the sides every second row. I increase to a total of 70 back stitches. Knit a few more rows.
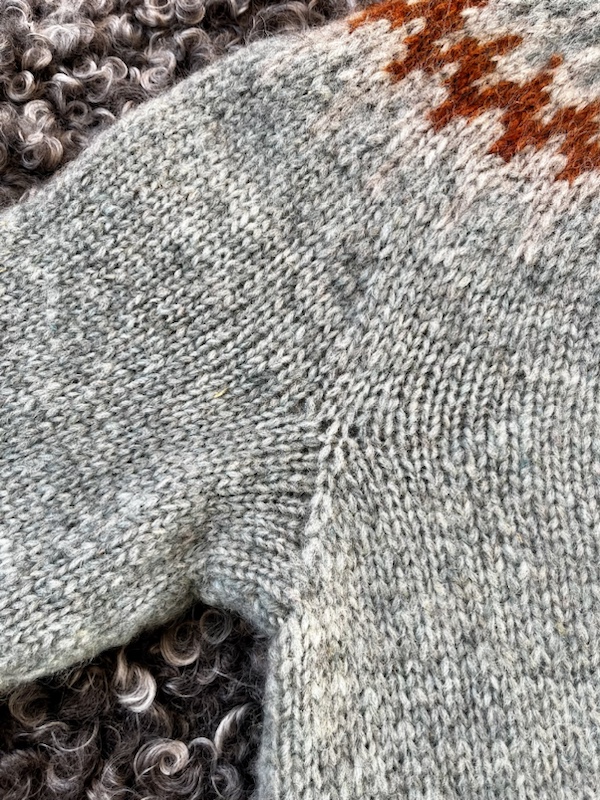
Divide body and sleeves. Put sleeve-stitches on holder. Cast on 8 stitches under each arm.
Body
Knit in the round until you are happy with the length. Finish with about 20-30 rows of garter. Bind off.

Sleeves
Pick up stitches from holder. Pick up stitches from under the arm and from the back. I had then totally 62 stitches. put a marker centred under the sleeve.
Decrease 2 stitches every 8th row until you have 48 stitches left.
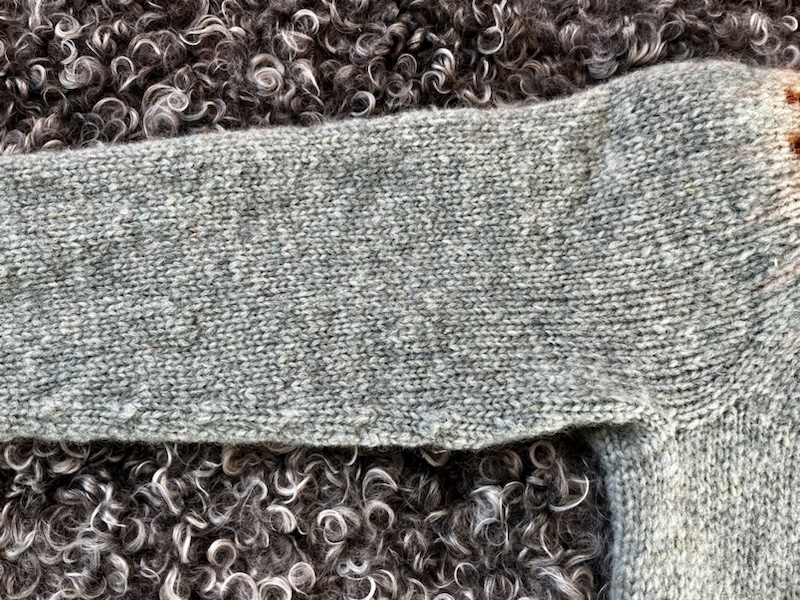
Knit a pair of FRI mitts using the same colour-work as for the collar. You find the recipe here on the blog. Don’t bind off but leave 48 live stitches.
Knit the sleeve until you are happy with the length. Graft the FRI mitts to the sleeves using Russian grafting method, or the method of your choice.
Done!

A recipe for warmth and freedom. Thank you.
LikeLiked by 1 person
Beautiful, thank you for your inspiration
LikeLiked by 1 person
Love all of your beautiful creations!!!💓💖💞❤
LikeLiked by 1 person
wonderful! I love your recipes.
LikeLiked by 1 person